The invoice process begins in OneCrew. Accounting confirms the
Project and Account information, creates the invoice, selects the
correct Services and invoice options, and sends the invoice to
Microsoft Business Central.
Once the invoice is sent successfully, continue to the next module
to review it in the MSBC Holding Tank and complete the posting process.
Business Central is the accounting system of record. OneCrew is
the source used to create and send the invoice information.
Complete the Pre-Invoice Check
Before opening the invoice screen, confirm the Project is ready to
invoice and the required setup is complete.
Check
What to Confirm
Environment
You are working in Production.
Project status
The Project has reached the appropriate invoicing stage.
MSBC Customer ID
The correct ID is entered on the OneCrew Account.
Salesperson
The salesperson email matches the Business Central setup.
Service Tags
Each invoice Service uses the correct mapped Service Tag.
Billing information
The billing contact, email, Site, and address are complete.
PO number
A PO number is entered when the customer requires one.
The Send to MSBC action is intended for Production. Do not attempt
to send a live invoice from the OneCrew Sandbox.
Confirm the Account Setup
Step 1
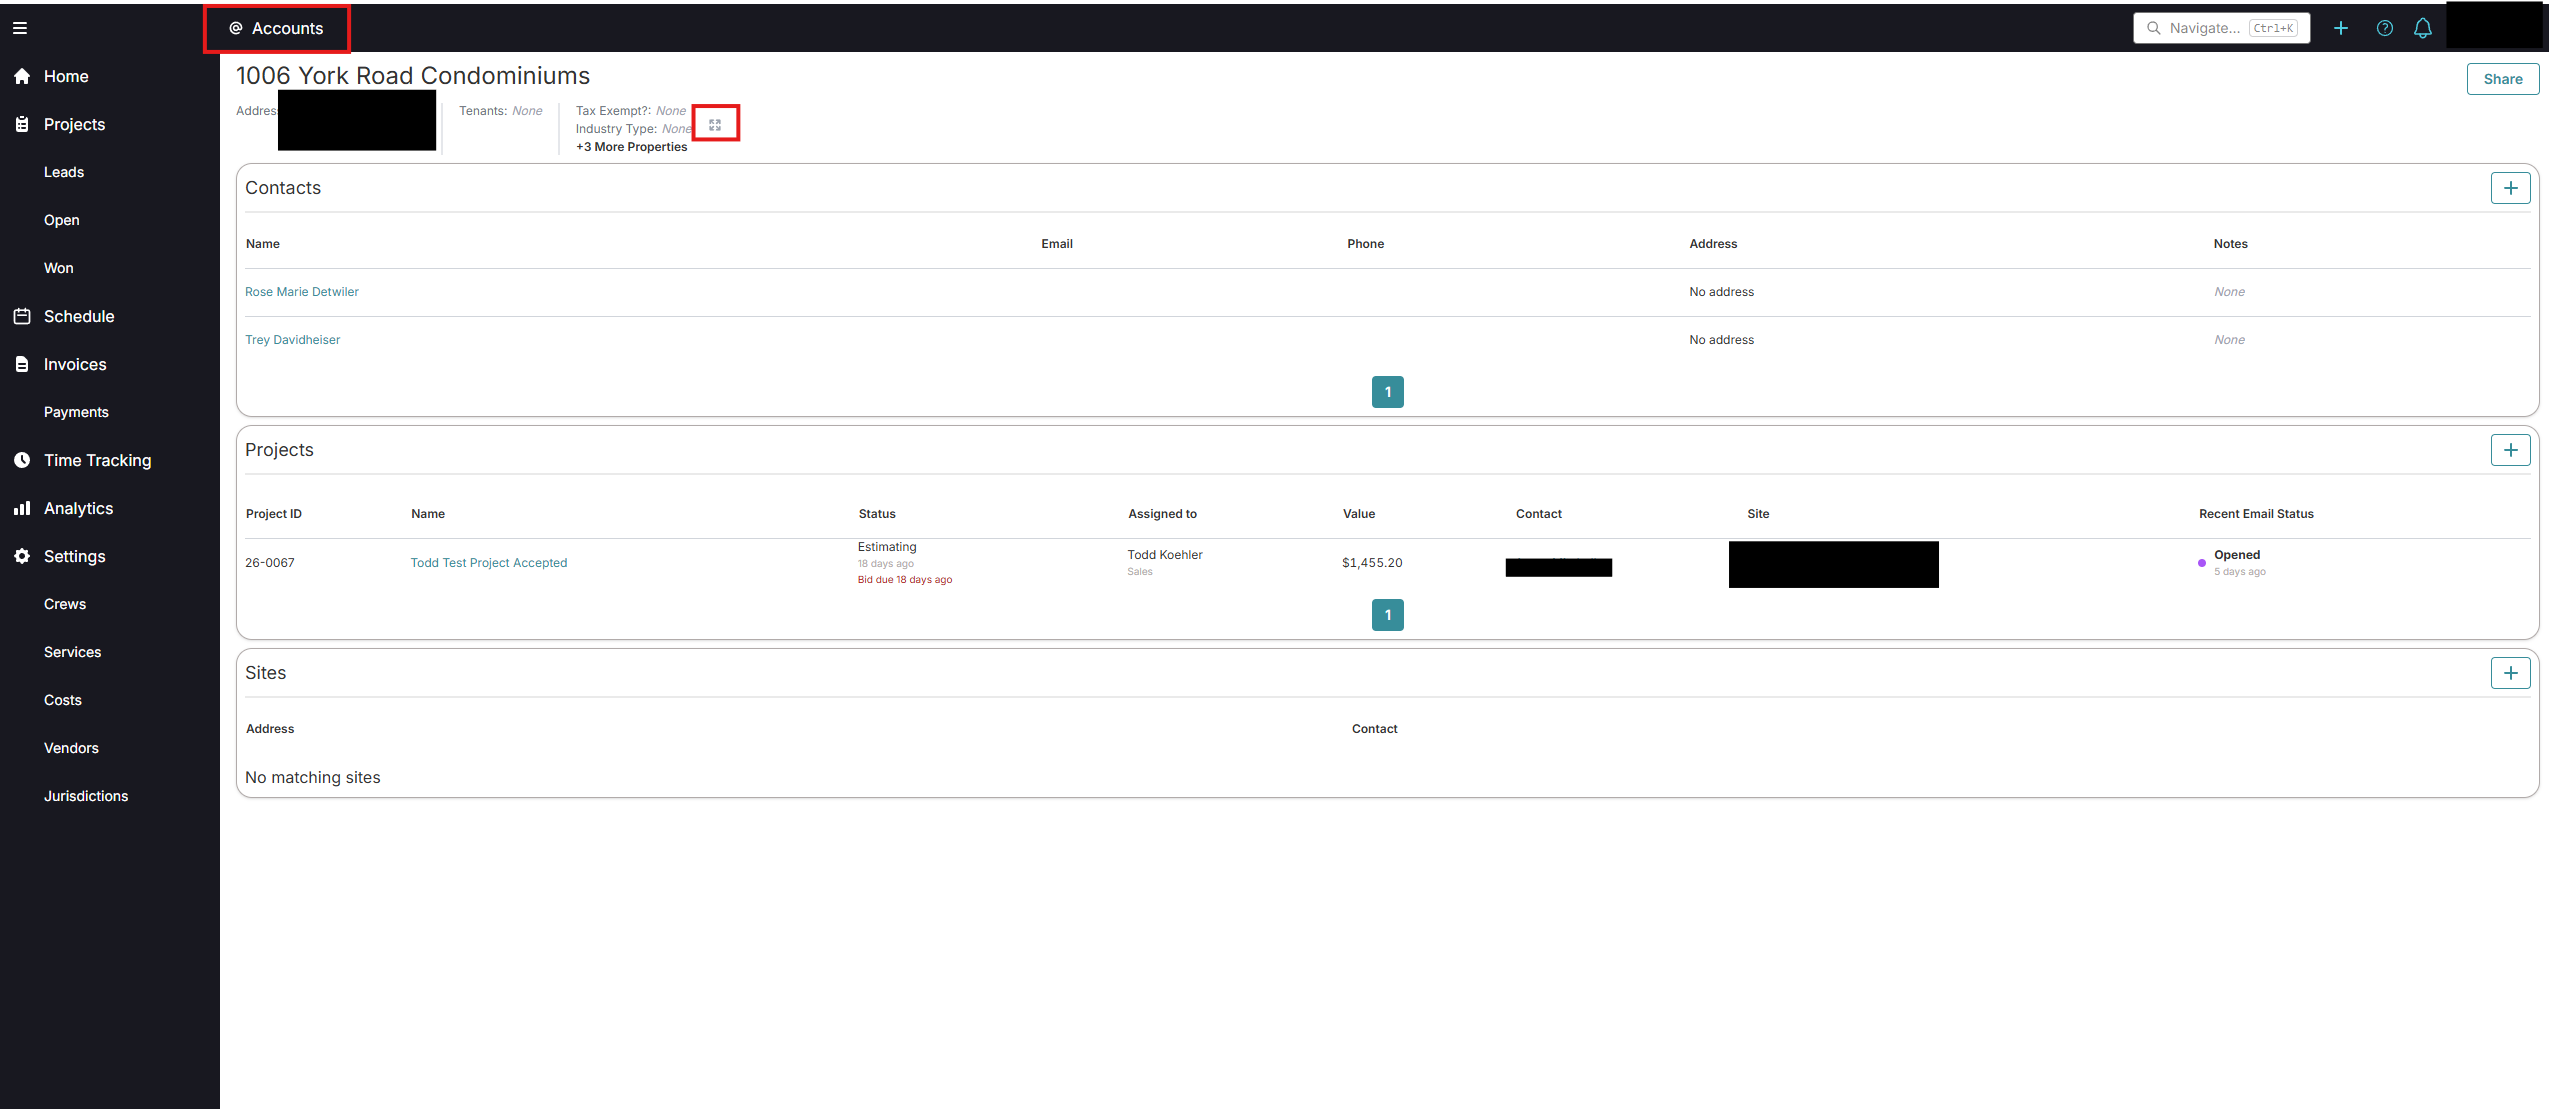
Open the Account
Open the Account connected to the Project.
Step 2
Review Custom Properties
Select the edit control and review the custom Account properties.
Step 3
Confirm the MSBC Customer ID
Verify that the Customer ID from Business Central is entered
correctly on the Account.
Step 4
Review the Additional Billing Email
Add a secondary billing email only when the customer requires
another invoice recipient.
The Additional Billing Email field should contain email addresses
only. Do not enter names or other text.
Create and Review the Invoice
Step 1
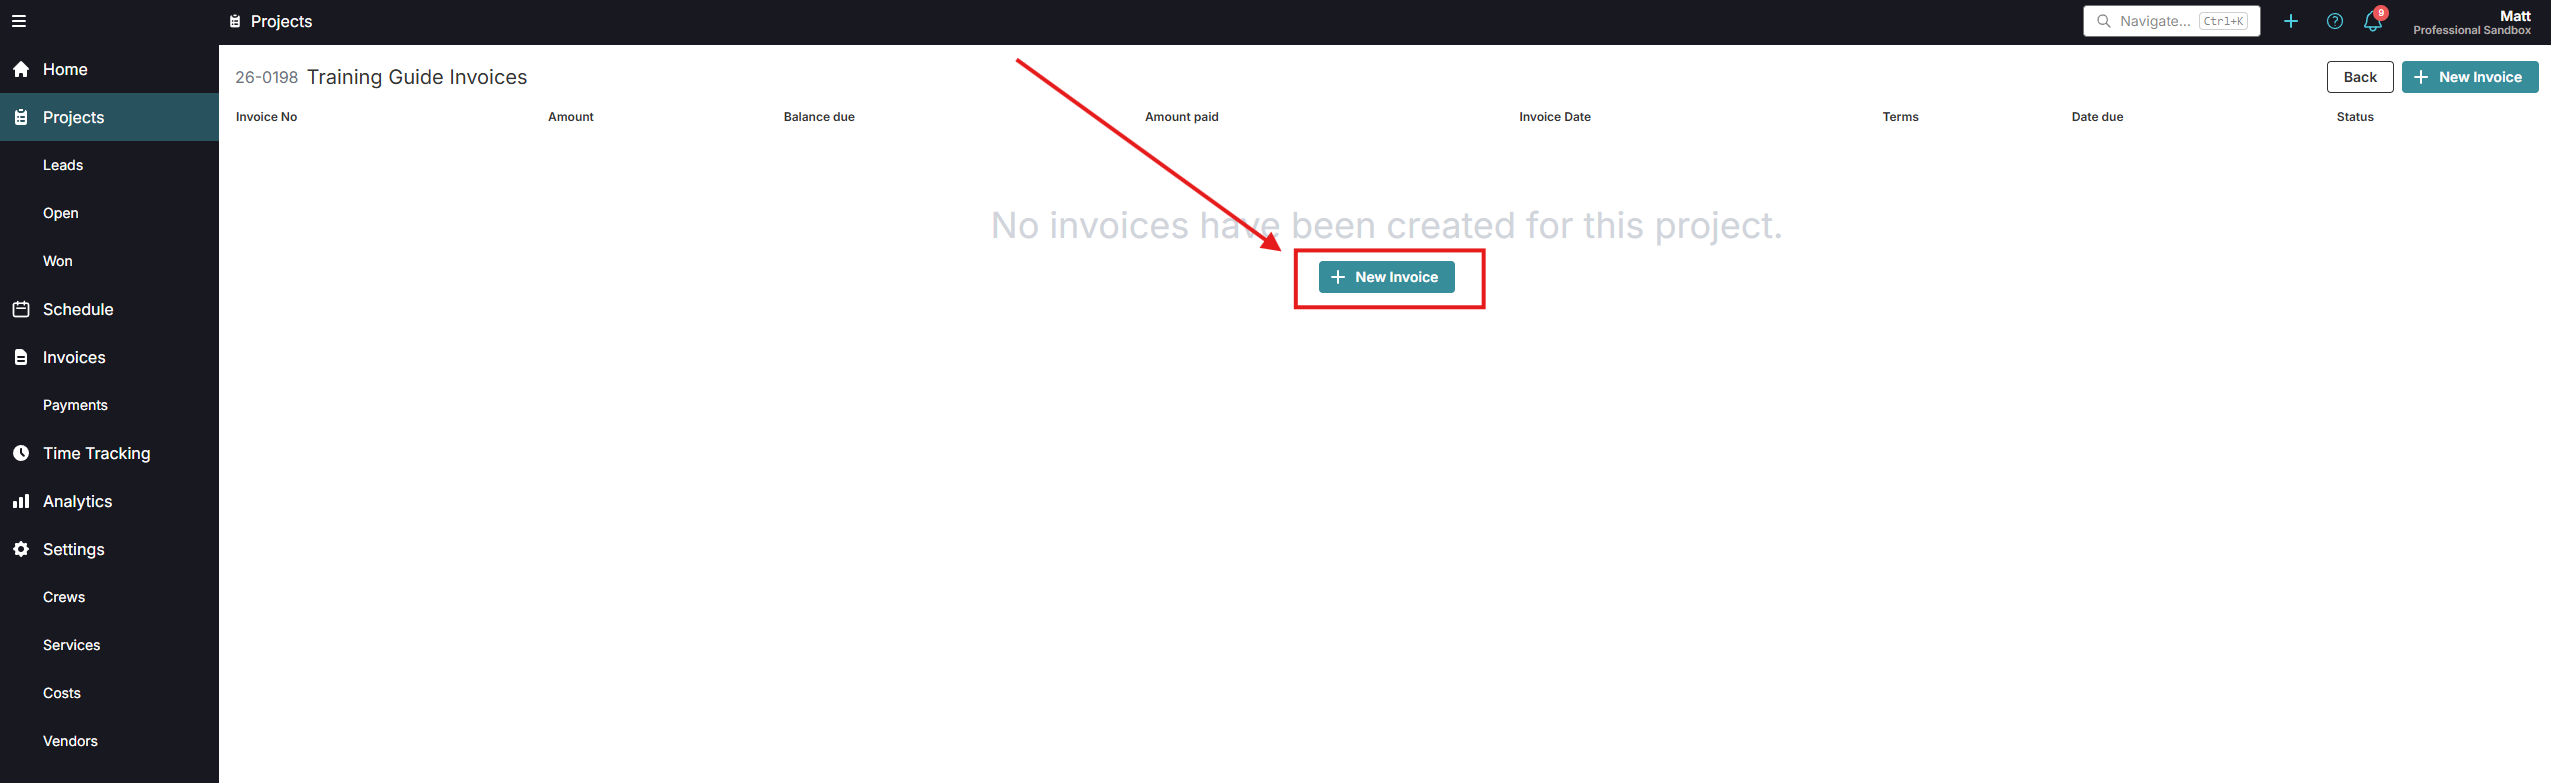
Open the Project
Open the correct Project and select the
Invoices button.
Step 2
Select New Invoice
Select New Invoice.
Step 3
Review the Invoice Details
Confirm the invoice number, terms, invoice date, due date,
billing contact, Account, and job Site.
Step 4
Select the Services
Include the Services that should be billed and remove any
Services that should not be invoiced yet.
Step 5
Review the Amount
Confirm the Service prices and total invoice amount before
continuing.
If the payment terms are changed in OneCrew, confirm the Payment
Terms Code again in Business Central before posting.
Choose the Correct Invoice Options
Full Invoice
For a full invoice, confirm the required Services and full amounts
are selected.
Partial Invoice
Select Partial Invoice when billing a percentage
or fixed-dollar amount. Enter the amount for each Service and save
the partial invoice settings.
Down Payment
Select Down Payment when the invoice is a deposit.
This routes the invoice to the correct deposit GL account in
Business Central.
Service Sets
Open Options and ensure Service Sets are shown as
individual Service items. Individual lines are required for the
correct Department and GL mapping.
Send the Invoice to MSBC
Step 1
Complete the Final Review
Confirm the customer information, terms, Services, invoice
options, and total are correct.
Step 2
Select Send to MSBC
Select Send to MSBC. Power Automate validates
and routes the invoice to the correct Business Central entity.
Step 3
Confirm the Send Was Successful
If validation succeeds, the invoice appears in the OneCrew
invoice list and is sent to the MSBC Holding Tank.
Do not edit the OneCrew invoice after it has been sent. Changes
made after transmission do not update Business Central.
Continue to Review and Post the Invoice in MSBC
after the OneCrew send is successful.